Showing posts with label homemade. Show all posts

Tuesday, December 13, 2022

Homemade Dijon Mustard


Who could have ever guessed that it would be difficult to find mustard in the grocery stores?!? But here, in France, that's what happened this year. Drought, War, Covid, Supply-chain problems, you name it. But there's no mustard or cooking oils in the grocery stores (except for olive oil and sometimes sunflower oil).  So when I was thinking about what to make for little gifts this year, I thought of this after finding an interesting handful of recipes. So, here's my take on Dijon Mustard. I have to say it's Very tasty! 

I made a lot, for gifts. But this recipe, with amounts listed, will make about a cup. 


Ingredients:

1/2 cup mustard seeds (I used yellow, but you can find white, yellow, brown or black) 

1/2 cup white vinegar + 1/4 cup water - for soaking

3 Tablespoons white vinegar - separate

2 Tablespoons dry white wine

2 teaspoons salt


Directions:

Soak your mustard seeds in 1/2 cup vinegar and 1/4 cup cold water. Cover loosely and allow to sit for 24 to 48 hours. 

After soaking, strain your seeds, throw away the liquid. 

In a blender, blend your seeds with the 3 Tablespoons vinegar and white wine. Add salt and continue blending until very smooth. You may have to scrape down the blender sides to keep it in the reach of the blades. Mine got smooth and fine, but it also thickened nicely. Mine is scoopable, not squirtable. If you prefer your mustard thinner, just add a little bit of water at a time. Maybe a teaspoon at a time. 

Once your mustard is finished, allow it to rest in the fridge for a day before using. You will taste it right away, but the flavor will become richer the next day. It's a wonderful thing. So easy. I may never buy mustard again. Next, I'll make yellow mustard. But for now, I have Dijon for a year! 

By the way, it keeps a VERY long time! Years. There's no ingredient in it that spoils. But it's so good, you'll finish it in no time! 

I found my seeds in the bulk spice aisle of the Asian grocery. 

Combine seeds with vinegar and water and allow to soak for a day or two. Longer soaking makes it easier to get a nice smooth grind in the blender. I saw some recipes that didn't soak long, or not at all. I soaked mine for 24 hours. 

The seeds plump nicely and absorb much of the liquid.

Use a very fine strainer to strain out the soaking liquid. 

I had so much that I had to strain it in two batches. 

The seeds absorbed quite a bit. There's not a lot of liquid to throw away.

Not many ingredients; seeds, vinegar, wine and salt. 
The only other thing you might need is a little bit of water 
if you'd like a thinner mustard in the end. 

Adding my premeasured vinegar...

And the white wine.

I added the salt and hit the button!

After 30 seconds, blended a lot, but chunky, not smooth. 
You may like it that way, it's up to you!

A total of about 90 seconds and it's smooth! 
If you only make a single batch, it may come together much faster for you. 

It is thick, but it's smooth. I like it. I'm not going to add any water. 

It's really tasty and has a nice kick to it, like Dijon should. 

Monday, May 2, 2022

Cheesecake with Sour Cream Topping (Sort of!)


Cheesecake is not supposed to be complicated, 
even though it takes a couple days to finish it. 
But making it in France adds a bit of complication, as everyday grocery items 
are not always available here. 
So, come along for the adventure!

Please note: European measurements and exchanges in BLUE.

Ingredients:


Crust (Couche inférieure)
* 3 cups graham crackers crumbs
* (En France J'ai utilisé des cookies Lotus Biscoff, 1 paquet entier)
* 12 Tablespoons melted butter
* (170 grammes beurre)
* 3 Tablespoons sugar
* (38 grammes sucre)

Filling (Garniture de tarte)
* 32 ounces softened cream cheese
* (900 grammes Fromage à Tartiner Nature)
* 4 Large eggs
* (5  œufs)
* 1.5 cups sugar
* (300 grammes sucre)
* 3 Tablespoons flour
* (23 grammes ma farine de blé)
* 1 cup EACH, milk and heavy cream
* (250 ml de lait et 250 ml de crème fleurette entiere)
* 1 teaspoon vanilla
* (1 cuillère à café de vanille)

Topping (Couche supérieure)
3 cups sour cream & 6 Tablespoons sugar
* (750 ml de crème fleurette entiere
+ 60gr de lait
+ Jus de 2 citrons moyens, environ 90 ml
+ 4 sachets d'Agar-agar)

* (76 grams sucre)

******************************************************************************************

Instructions (Pour les instructions en français, voir ci-dessous):

Preheat oven to 325*F (163*C)
In the US, Crush your cookies and mix with sugar and melted butter, and press into the bottom of a buttered 9X13 rectangular baking pan. Set aside as you make your filling. 
Écrasez vos biscuits et mélangez-les avec le sucre et le beurre fondu, et pressez-les au fond d'un moule rectangulaire 28X36cm beurré. Réserver au fur et à mesure que vous préparez votre garniture. Les cookies peuvent être écrasés dans un sac très facilement.


 I tried using parchment paper, I wouldn't do that again. It got too wet and wasn't helpful. 
J'ai essayé d'utiliser du papier cuisson, je ne referai plus ça. C'était trop humide et ce n'était pas utile.

For your filling, in your mixer cream the cream cheese, adding eggs one at a time, then sugar, flour, vanilla, milk and cream. Adding ingredients slowly so they mix well but don't splatter out of the mixing bowl. Scrape down the bowl with a spatula as needed. 
The bowl will be very full, so move slowly. 
Pour votre garniture, dans votre grand saladier, mélangez le Fromage à Tartiner Nature en ajoutant un à un les œufs, puis le sucre, la farine, la vanille, le lait et la crème. Ajouter les ingrédients lentement pour qu'ils se mélangent bien, mais sans éclabousser du bol à mélanger. Racler le bol avec une spatule si besoin. 
Le bol sera très plein, alors déplacez-vous lentement.

Pour filling into your baking dish with unbaked crumb crust. 
Versez la garniture dans votre plat allant au four avec la couche inférieure non cuite.

Smooth evenly. 
Lissez uniformément.

Bake in 325*F preheated oven for about 50 minutes or until set. 
Cuisez au four préchauffé à 163*C pendant environ 50 minutes 
ou jusqu'à ce que le tout soit pris.

Cool and then refrigerate at least 4 hours. 
Laissez refroidir puis réfrigérer au moins 4 heures.

Combine the sour cream and sugar and spread over the top of the cold cheesecake. 
Allow to firm up overnight in the fridge. 
Mélangez la crème aigre et le sucre et étaler sur le dessus du cheesecake froid.
Laissez raffermir une nuit au réfrigérateur.

To serve, cut into squares with fresh fruit or preserves on top. 
The parchment paper was messy. Don't try it. 
Pour servir, coupez en carrés avec des fruits frais ou des conserves sur le dessus.
Le papier cuisson était salissant. N'essayez pas.

I used blueberry preserves and fresh blueberries. 
J'ai utilisé de la confiture de myrtilles et des myrtilles fraîches.

Pour mes lecteurs français :
Il y a une complication, la crème aigre n'est pas disponible ici. Alors, nous allons fabriquer la nôtre. Je n'ai essayé qu'une seule fois et je n'ai pas été très impressionnée par les résultats, alors je continue à perfectionner cette étape. Juste pour que vous le sachiez, le gâteau au fromage est délicieux même sans la garniture de crème dessus. N'hésitez pas à le servir avec des fruits frais sur le dessus.
Voir ci-dessous, comment j'ai fait la crème aigre. Pour que la creme ait le temps de devenir "aigrer" commencez de la veille de commencer quoi que ce soit d'autre.

Ingrédients:
* (750 ml de crème fleurette entiere
+ 60gr de lait
+ Jus de 2 citrons moyens, environ 90 ml
+ 4 sachets d'Agar-agar)

***lorsque vous mettez la crème aigre  sur le dessus du gâteau, vous ajouterez du sucre. 
Ne l'ajoutez pas maintenant.

Ajoutez le jus de citron fraîchement pressé à la crème.

Ajoutez le lait.

Incorporez l'agar-agar. Mélangez ensemble.

Versez dans un récipient que vous pouvez fermer complètement et secouez bien.


Après l'avoir secoué, il aura l'air un peu mousseux.

Couvrez avec une serviette en papier, pas avec du plastique ou un couvercle scellé. L'air doit pouvoir pénétrer à l'intérieur.
Laissez reposer sur le comptoir de la cuisine pendant au moins 24 h pour la crème devienne "aigrer". Tout comme le pain au levain, il faut du temps aux microbes pour faire leur magie.

Comme je l'ai dit plus tôt, l'expérimentation continue. J'essaie de faire devenir aigre d'autres produits laitiers, de la crème fraîche et aussi de la ricotta. Je pense que je vais aussi essayer le marscarpone. Il doit être un peu plus épais que ma première tentative.


Savourez!! 


Merci Corinne et Thibaut pour la relecture et les NOMBREUSES corrections grammaticales !

Sunday, May 17, 2020

Sourdough Starter (without yeast)

Baking bread when you have no yeast! 

Come along with me on a new adventure!


This is a recipe shared by dear friends. I'm having trouble finding yeast, so this is a way of harvesting wild yeast from the air! 


Starchy potatoes - 1 large or a couple smaller, about a pound.
water a few cups
sugar - 1 1/2 teaspoons
salt - 1 teaspoon

Glass or ceramic bowl.


Day 1
We'll start with fresh potatoes.

 I'm boiling a few I cut up. Maybe a pound. Boiled until nice and soft. 
Remove potatoes and measure out 20 ounces of the liquid.  

 Sugar and salt measured out and into a ceramic bowl.


 The water has cooled, it's lukewarm now. 


 I'm mixing my sugar and salt in first. 
My sugar is not fine grained and I want it to incorporate well into the mixture. 


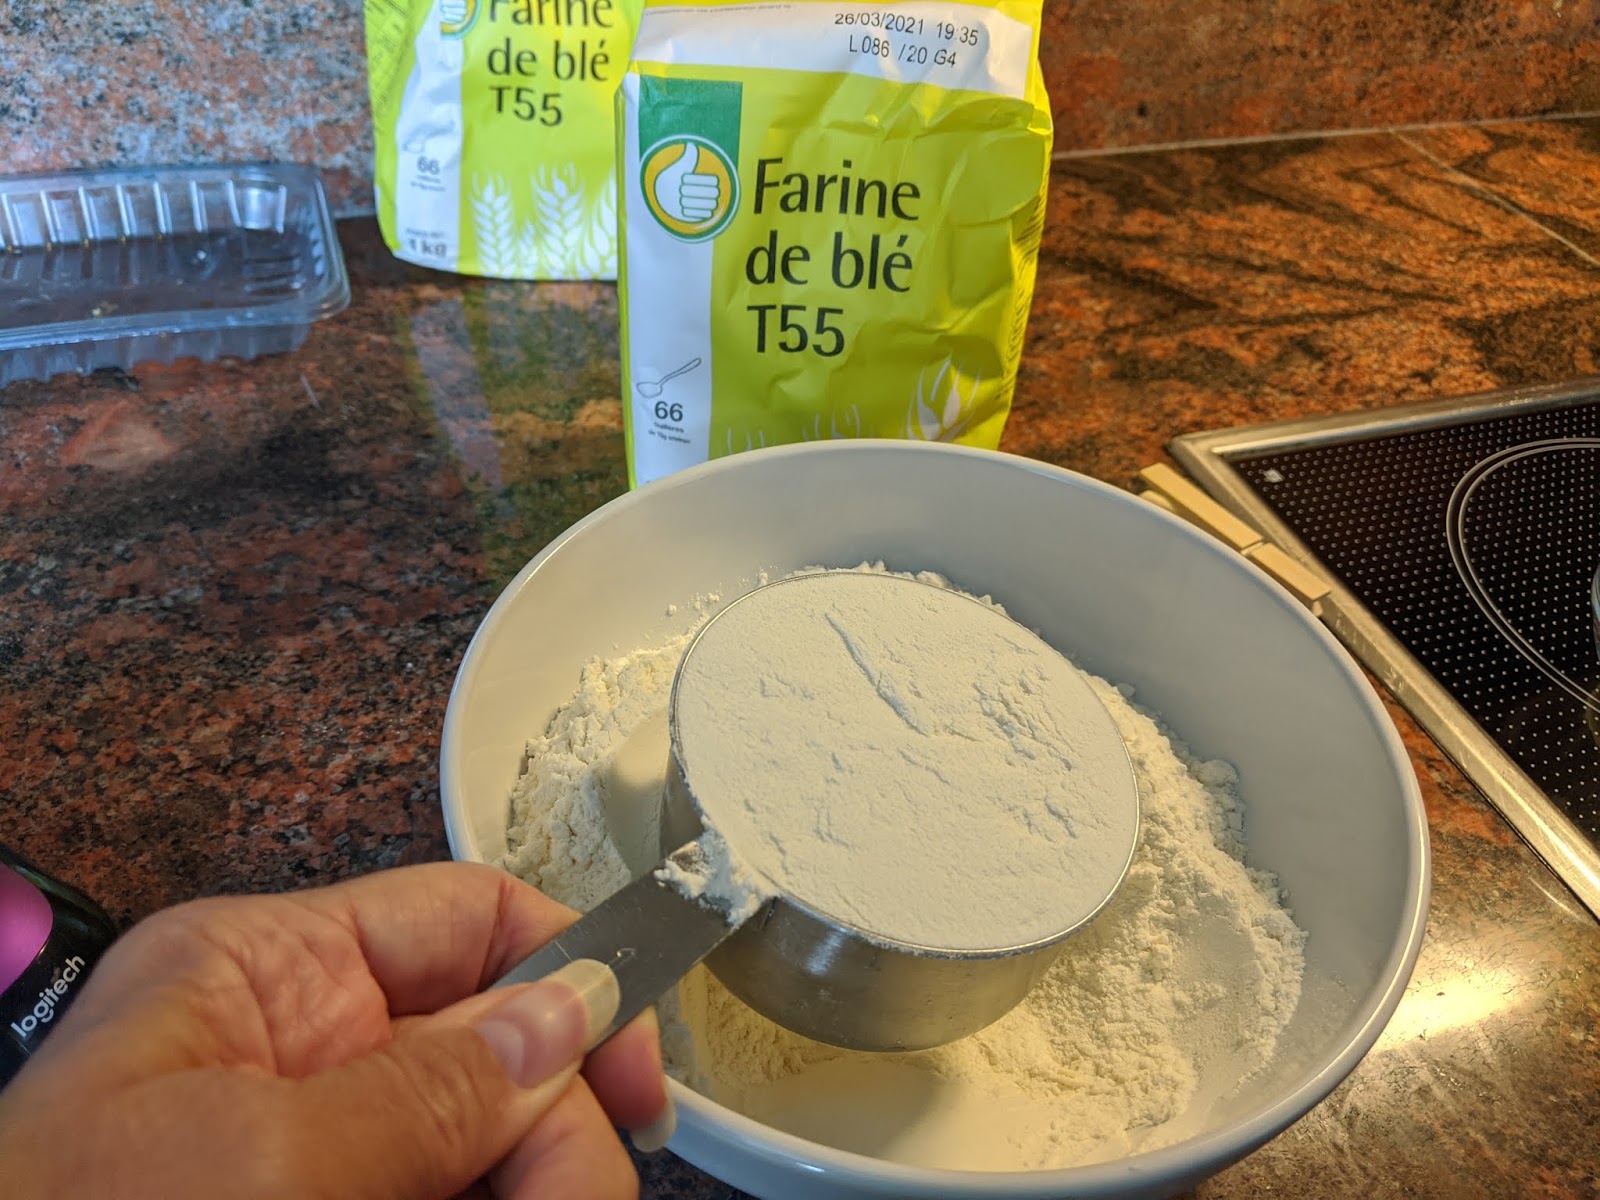
 Adding in the cup of flour.
 Mix well. 


The bubbles are just from the whisking I gave it. 

The recipe calls for cheesecloth. I don't have any, 
so I'm hoping this thin kitchen towel will do the job. 

This will develop for a number days. I'll check it and stir it each day. 
**************************************************************
Day 2. 24 hours later...
It seems to have separated a bit. Heavier flour fell out of solution, to the bottom. 

So, I stirred it all up again. I covered it with the towel again to let it sit another day. 

**********************************************
Day 3. 

 It had gone through a bubbly stage last night and I stirred it down. It was a very warm day yesterday, over 80F degrees (28C)


 It needs fed today. I'm adding 1/2 cup lukewarm water and 1/2 cup flour. 


 Water added and stirred.


Now the flour... 

All stirred up again.

 A few hours later, just checking on things. 


It's so much thinner than how it started the first day when it was so thick. Now it's about the consistency of melted ice cream. 
***********************************************************
Day 4 
 I thought it looked kind of flat and still today, but my dear friend said I should feed it. So, I did. :) Another 1/2 cup of lukewarm water and 1/2 cup of flour, whisked in as before. 
*********************************************
Day 5
Today, I see very small bubbles, I will stir it and feed it again today.  It has been much cooler the last few days, unlike Day 1. I'm sure that has slowed the development of my sponge. 
**********************************************************
Days 6 - 10


 Every day, I am feeding the sponge with 1/2 cup warm water and 1/2 cup flour. This goes on for a few days. I could probably use it to bake now, but I'm going to wait a few days. 

 Every day, this is what it looks like. The water on top, heavier solids fall to the bottom. 

 Every day, I stir it up smooth and feed it. 

 And today is the day!! We are going to get ready to bake!!
Remember, you prepare the dough the day before baking! Feed the starter before we begin. 

 From the bowl of starter, I take one cup of well mixed starter. To that, add 1 3/4 cup warm water, mix well. 

 Add 5 cups of flour, one cup at a time, mixing well between additions. 

The first two cups of flour I mixed in with my whisk. I also added the salt at this time, to make sure it got well incorporated. 

 After two cups of flour, it got too thick to use the whisk. I switched to a wooden spoon. 

 After incorporating the five cups of flour, allow to rest for one hour, covered, on the counter. 

 After one hour, the dough needs to be turned. It's very sticky. 

 Flour the counter before turning the dough out. 

 Do your best to get all the dough out. Do you have a little scraper? 

 OK, dough is out. Now, mostly just flip it around a couple times, keeping flour where it touches the counter. 

 Sorry this is sideways. Ball up the dough and put it back into the bowl.

 The dough was so sticky, I had to use my scraper in the bowl as well as the counter. 

 Covered again and allowed to rest for another hour. 

 Second flipping, after the hour resting. 

 It is a little less sticky, but I keep a little flour to put on as I flip it. Both for my hands and the counter. 

I'm dusting the bowl with flour before putting the dough in so it doesn't stick too bad. 

 Covered and allowed to rest for another hour. 

After the last hour of rest. One more time...

 Third and Last turning. 

This looks like bread dough now.

 Return the dough to the well scraped bowl. 

Cover the dough with plastic wrap. 
Into the fridge it goes for at least 8 hours, and up to 48 hours. 

 Almost 24 hours later. Remove cold dough from the bowl. 

Dough ball is turned out onto the floured counter. Seam side up. Don't knead it. 

The dough will now rest on the floured counter, covered in plastic wrap, for 15 minutes, to warm a little. 

This is a lot of dough, maybe more than one loaf? 

I'm going to make two loaves instead of one large one. I just cut it gently with a long sharp knife. 

I've dusted the parchment paper with flour so the bread doesn't stick. 

Dough is shaped into two loaves and dusted with flour. 

Covered with a clean towel, will now rest and rise for 3 hours. If you have a warm kitchen, it may be ready sooner for you. 
**Preheat oven to 450F degrees half an hour before baking.** 

3 hours rising time on the counter. It's time to bake. The oven has been preheating for 20 minutes. With a dry pan in the bottom to hold some water. 

After 3 hours rising time, cutting slashes across the top to allow steam to escape. 

Put loaves into the hot oven. Pouring about a cup and a half of boiling water into pan at the bottom of the oven. 
**Bake at 450F for 25-35 minutes until very brown and crusty**

It's hard to see through this door, but sneaking a peek. 

Good and crispy, I'd say.  They also sound hollow when tapped. 


Take them out to cool, or turn off the oven and allow bread and oven to cool, with the door slightly ajar. 


It didn't rise a ton, but it was very nice. Good chew and very crisp crust with the steaming it got while baking. All in all, a very successful science experiment!