Much simpler than it sounds

Flounder Fillets
milk to dip
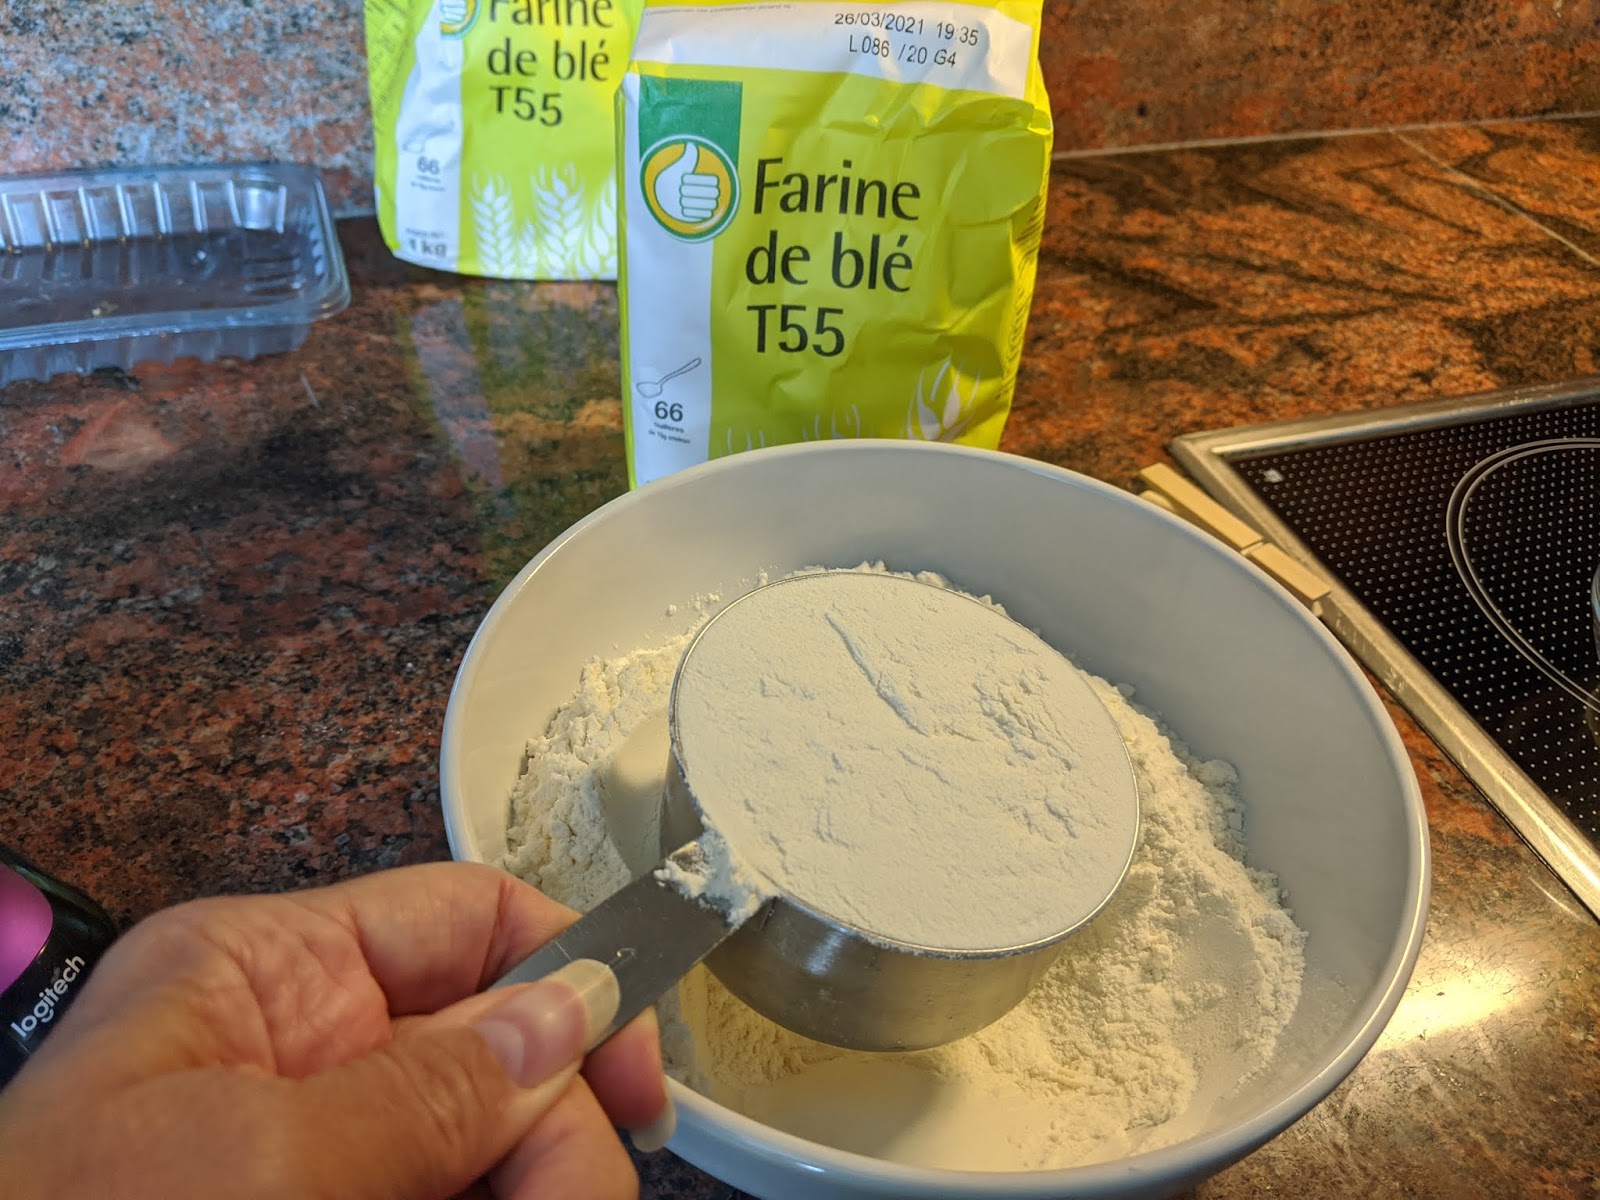
flour to dip
one stick butter
1/3 cup capers
lime juice
***********************
In a small pan, melt butter and add capers, cooking over medium heat. The butter will need to brown and the capers will pop open. I always start this first.
Dip fish fillets in milk, then flour, and pan fry in hot oil until nicely browned.
To serve, sprinkle fish with lime juice and spoon over a bit of the caper and butter sauce.
I usually serve this with broccoli, as I like the caper butter on the broccoli as well. :)
********************

I was unable to find flounder this day, so I chose a thin white fish.

This is not as thin as flounder, but I would not want to go any thicker than this.

Get your coating ingredients ready.

Sauce ingredients at the ready.

A small pan with capers and butter, set on low heat. You don't want to burn the butter. I start the butter and capers before starting the fish.

Dip fish into milk and then coat with flour.

Then coat with egg wash.

Then into bread crumbs.

Place in hot pan in a single layer.

Butter is melted and capers are heating. Butter is starting to bubble. Low heat, don't burn the butter. Keep an eye on it.

I used Panko crumbs here, it's what I had on hand. Standard bread crumbs are just fine.

Sorry this is out of focus, checking the capers, they are not popping yet, keep going...

Check them frequently.

Butter is browning, can you see?

I remove the fish as it is finished.

Keep peeking at the capers.

Ah, here we go. The capers are popping and browning. That is when they are finished!

The butter is nicely browned, the capers are popped and crispy. It smells so good!

I lightly sprinkle the fish fillets with lime juice.

Spoon the caper sauce over the top. I like the sauce on the broccoli as well. A nice touch!

A very tasty dinner that everyone loves!

One last thing... Cooking fish can stink up the house for days. Put on a small pan with water and cinnamon. Simmer it slowly and the cinnamon will counteract the fish smell in the house. I start this as I finish the fish and let it simmer while we eat.